Step 6 - Adding Clubs
The last step in this process of setting up your Conference is to add in your Clubs. One church may have multiple clubs (Adventurer, Pathfinder, and/or Master Guide), you will need to add each club separately.
- From the lower left area of the YMMS website, select the General Secretary module and then click on A006 – Clubs.

- On the Club management screen locate the "New" button and click it.

- On this new "Register of Clubs" page, fill in all the fields for the new club.
- Church:
Select the Church
- Name:
Add the Club Name
- Ministry: [ Select the Department ]
- Area:
Select the Area
- Link:
Does the club have a website, Facebook page, or online calendar?
- Zip code:
- Address:
- State:
Select the State
- City:
Select the City
- Club history
If you have any history about this club feel free to add it. - Extra information
This is an extra box for you and the Club to use.
- Foundation date:
Enter in todays date or the date the club was first organized.
- Registration date:
Enter in todays Date or the date when the club was officially recognized for this Club season.
- Ended in:
Enter in the last date of the club season.
- Active:
If the Club is active this season, check the box.
- Complete access:
DO NOT check this box unless this Club is for demo, testing, or Training. Checking this box will eliminate statistical information from all reports about this club.
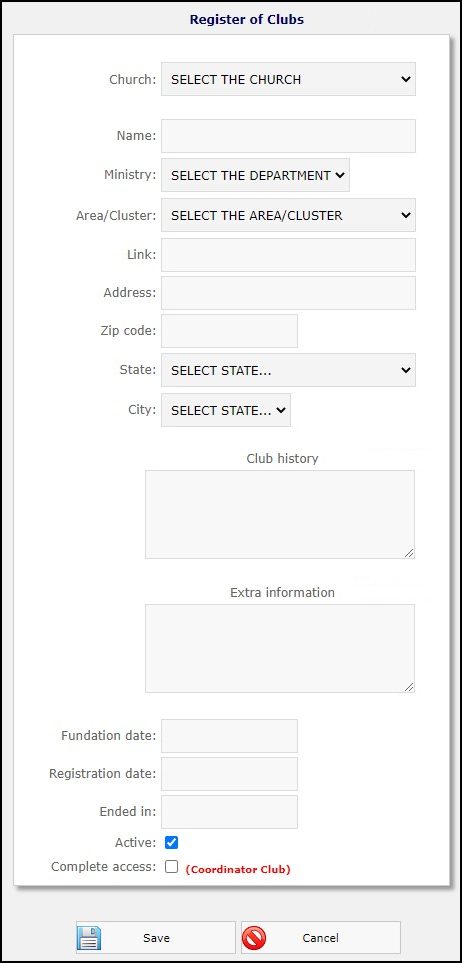
- Click the "Save" button

- You will be presented with the following message:
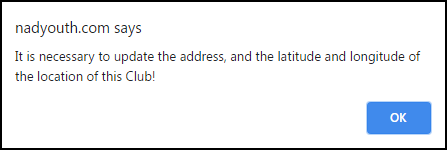
- Click the blue "OK" button.
- You will be brought back, again, to the "Register of Clubs" page, but now with a map. If you know the exact location for this club, Click and Drag the red Pin (
 ) to the correct place on the map. Otherwise just skip this step.
- Finally, click the "Save" button one last time.
